


June 5, 2025 / Blog / By administrator
How to adjust the airflow of your vape kit for an ideal experience?
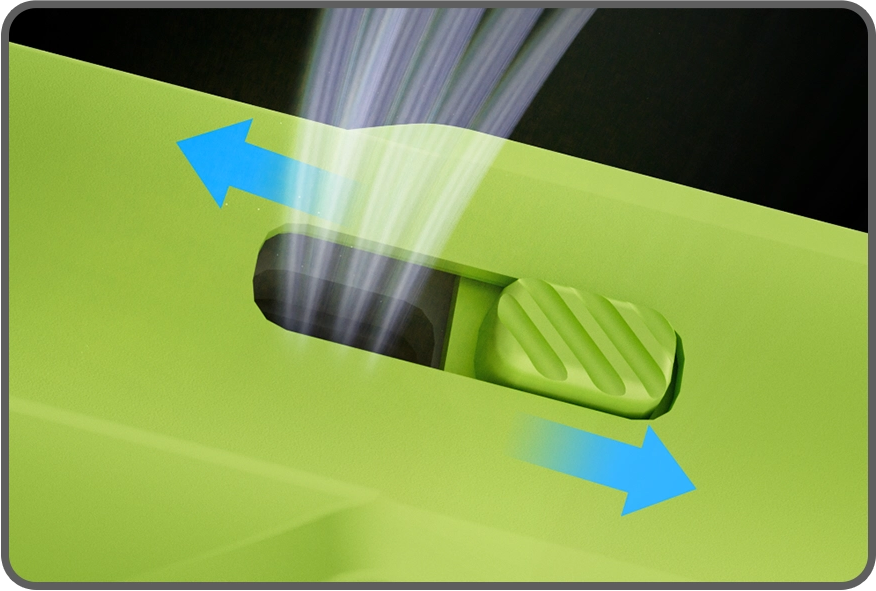
Adjusting the airflow of your vape kit directly affects flavor intensity, vapor volume, and throat hit. Most vape kits include an adjustable button on the cartridge or mouthpiece that allows you to adjust the airflow that mixes with the heated coil and e-liquid. Tighter airflow produces less vapor and a stronger throat hit, mimicking the traditional smoking experience, while wider airflow yields larger clouds and cooler vapor. Significantly, airflow settings also affect coil performance. When insufficient airflow causes the coil to overheat, it results in a burnt taste. Conversely, too much airflow reduces flavor intensity by dispersing vapor too quickly. Airflow adjustment ensures that coil temperature remains within the optimal range, preserving the flavor of the e-liquid while preventing dry burning for a better experience.
The Importance of vape Kit Airflow for Flavor and Vapor
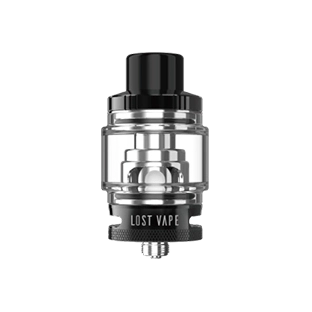
In many vape kits today, users control airflow by rotating a ring on the reservoir or sliding a lever. These openings determine how much the heated e-liquid mixes with the surrounding air as it evaporates on the coil. Too much air dilutes the vapor, degrading the taste and overcooling the coil; too little air causes the coil to overheat, resulting in harsh or burnt flavors. By mastering airflow adjustment, you can precisely control the three core elements of the vaping experience: throat hit intensity, vapor density, and flavor clarity.
The throat hit changes significantly with airflow. Narrow airflow settings on a vape kit increase resistance, forcing air to rush through the coil at a higher velocity, which enhances the throat hit and brings out a more unmistakable nicotine taste. Conversely, opening a wide airflow allows more air to mix with the vapor, which softens the throat hit and makes the inhalation cooler and smoother, ideal for direct lung inhalation.
Vape kits with restricted airflow generally produce stronger flavors. At this point, the vapor stays in the mouth longer, allowing the taste buds to sense the subtle e-liquid flavors. Because e-liquids vary in viscosity and flavor complexity, fine-tuning the airflow of a vape kit requires adjustments based on coil type, wattage, and e-liquid characteristics.
Matching Airflow to Coil Resistance and Wattage
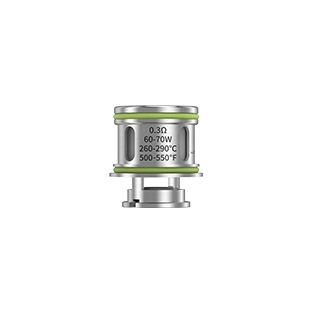
One of the most effective ways to adjust the airflow of your vape kit is to match it to the coil resistance and the selected wattage. The coil resistance, along with the wattage, determines how hot the coil gets during each puff.
For low-wattage, high-resistance coils, restrictive airflow ensures that enough airflow velocity flows through the coil to move the vapor upward without overcooking it. Start by setting the airflow ring to its narrowest setting, but only if you can still puff easily. If the vapor is still too thick or you detect a slight burnt taste, restrict the airflow further until the balance feels right. Since low-wattage coils heat up more slowly, they require less airflow to maintain a stable temperature.
Conversely, for higher-wattage, low-resistance coils, you need maximum or near-maximum airflow to prevent rapid overheating. Sub-ohm coils produce large amounts of vapor in milliseconds, and if there is insufficient airflow, the coil’s temperature can soar, resulting in a “dry burn.” To avoid this, open the airflow ring completely so that ambient air can adequately cool the coil and maintain e-liquid saturation.
Customizing vape kit airflow for different VG/PG ratios
Beyond basic adjustments, adjusting the airflow of your vape kit often depends on the specific e-liquid recipe you use, especially the VG/PG ratio. High-VG blends have higher viscosity and produce denser smoke but require ample airflow to prevent wicking problems and overheating. Low-VG and high-PG e-liquids have a more pronounced throat hit and a richer taste, while moderate airflow restriction can help maintain the vapor temperature.
For high-VG e-liquids:
You can maximize airflow by opening the airflow ring fully or almost entirely, ensuring enough air passes through the coil and vaporizes the thicker liquid. When gradually increasing power, start at the lower recommended power of the coil and gradually increase in 5-watt increments. Then, you can choose a mesh coil with larger suction holes or a multi-coil configuration to more effectively handle high-VG blends.
For balanced e-liquids:
The airflow can be set to around 50-75%. This balance can produce a satisfactory smoke density and taste strength without a significant risk of dry burning. For a stronger throat hit, reduce airflow to 25-50% or lower wattage; for a smoother draw, open airflow to 75-100%.
For high PG e-liquids:
Airflow can be moderately restricted; high PG e-liquids evaporate more easily, so less airflow is needed. The airflow ring can be closed to 25-50% to maintain a higher vapor temperature and enhance the taste. Alternatively, we can start at a lower wattage to prevent the coil from evaporating thinner liquids too quickly.
Troubleshooting common airflow issues
Restricted draws or gurgling noises:
If your pod kit suddenly starts to gurgle, first check the reservoir for overflow. Excess e-liquid can accumulate in the coil chimney, blocking the air intake. To fix this, remove the reservoir, pour out the excess e-liquid, and gently blow air through the air intake to unclog the chimney. Reassemble and take a few puffs to refill the coil. If spills recur, consider reducing power and slightly closing the airflow to adjust the draw pressure or using a lower VG e-liquid that is easier to draw.
Insufficient smoke output:
When smoke output drops unexpectedly, check the airflow holes for oil or debris buildup, especially in vape kits, where small airflow holes can easily become clogged. Use a cotton swab or compressed air to remove any residue. Also, ensure the cartridge or reservoir is fully inserted into the battery. Improper installation often blocks the airflow path, resulting in insufficient smoke output.
A pungent or burnt taste:
A pungent smell indicates insufficient airflow or an overpowered coil. First, fully open the airflow ring and test. If the taste is still burnt, reduce the power by 5-10 watts. For vape kits, ensure the airflow slot is not entirely closed. If you are using a new coil, try taking at least 10 puffs at a lower power before increasing the power.
Achieve your ideal vaping experience.
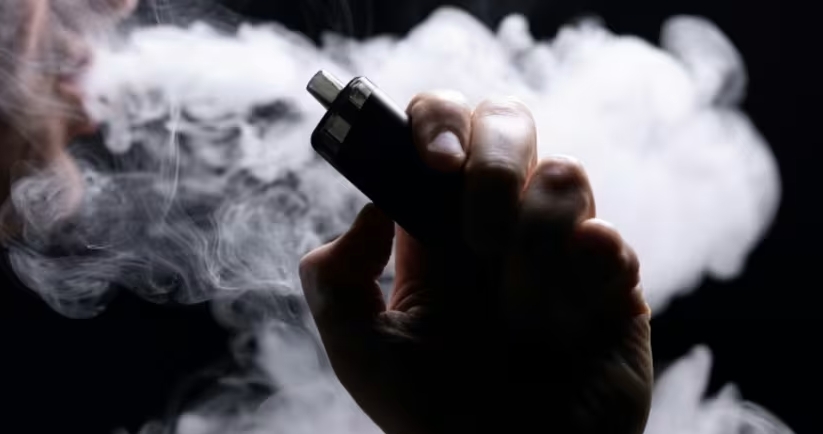
Understanding how airflow affects throat hit, smoke density, and taste allows you to customize each puff to your personal preferences, whether you prefer a tight, cigarette-like puff with a vape cartridge or a smoky experience with a low-resistance e-cigarette kit. Match the airflow setting to the coil resistance and wattage, and perform regular maintenance to keep the airflow channel running smoothly for an ideal vaping experience.