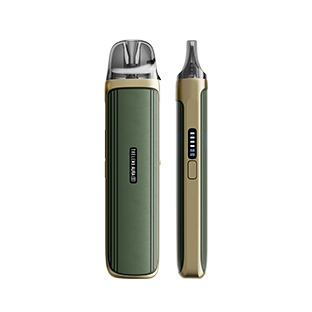
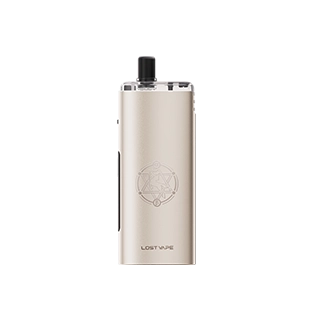
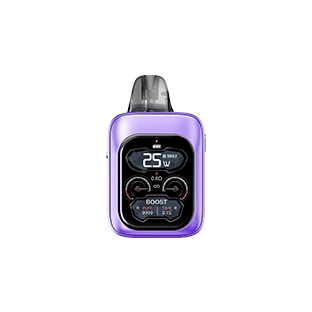
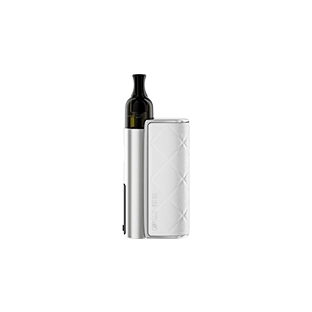
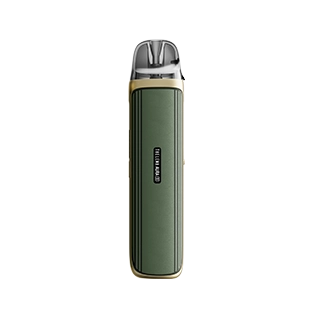
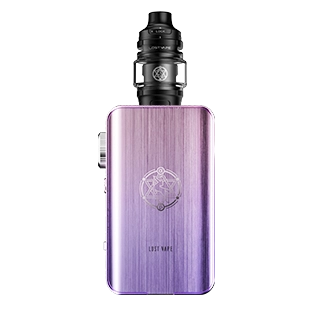
HOW TO UPGRADE ORION DNA GO TO ORION PLUS?

UPGRADE EVOLV SOFTWARE(*zip)

OPERATION INSTRUCTION OF UPGRADE (*PDF)
G10ET YOUR ORION PLUS IN 12 STEPS, 5 MINUTES
(*Only compatible with Windows System)
Please take down the pod before the upgrade.
1
2
3
4
5
3
Install SetupEScribe2_INTL_SP19

P1. Software SP19
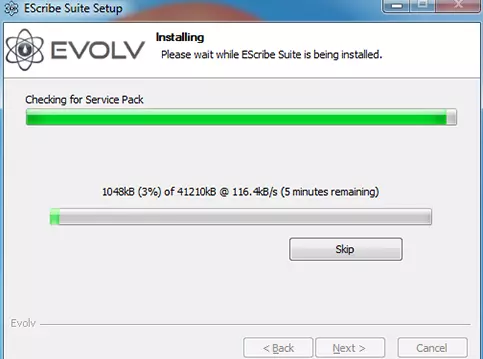
p2. Install SP19
4
Then double click on the SP20 and upgrade to the Version 2.0 SP20

P3. Software SP20
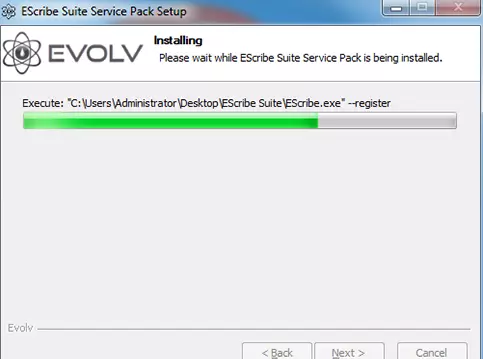
P4. Upgrade to SP20
5
Step 5- Make sure the software installed is the V2.0 SP20

Open the software installed, Choose “ Help-About EScribe”.
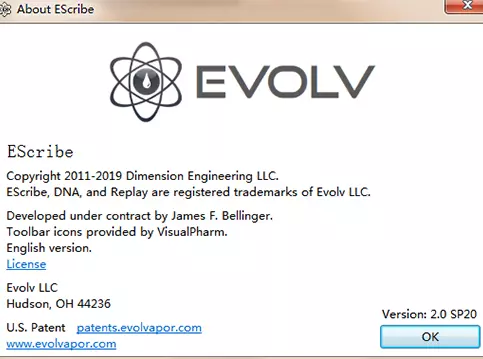
P5. V2.0 SP20 EScribe
6
7
8
6
Choose language
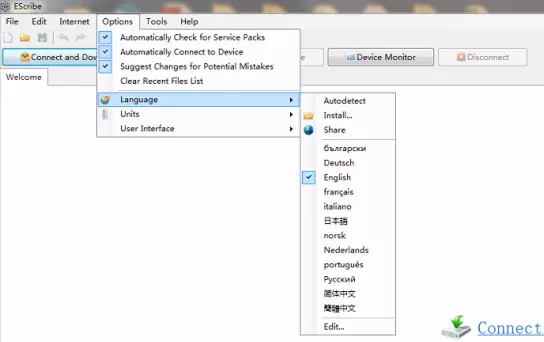
P6. Choose Language
7
When connecting to USB, the connection will be prompted, click ok
(Tips: If there’s no prompt when you connect the second time, select Evolv DNA GO at the bottom.)

P7. SP20
8
Choose “Tools – Production Utility”
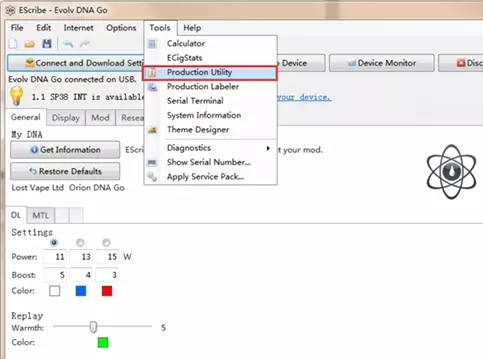
P8. Tools-Production Utility
9
10
9
Log in your EScribe account or Regist
Account: info@lostvape.com Password: lostvape
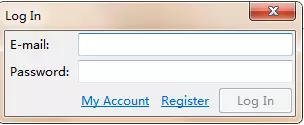
P9. Log in
10
Click browse and select the firmware and files to upgrade
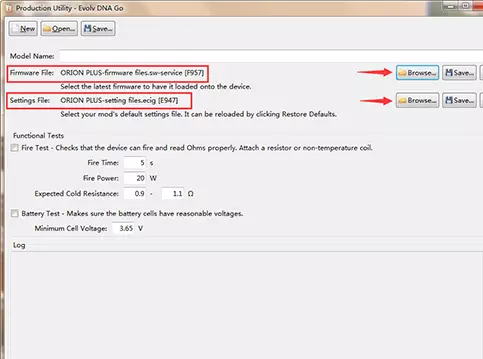
P10. Browse and Select from “Firmware&settings” File
(Tips: If there’s no prompt when you connect the second time, select Evolv DNA GO at the bottom.)
Firmware&Settings
Choose “Firmware&Settings files” from the zipfiles you downloaded
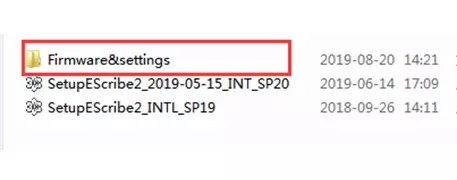
P11. Files’ position

P12. Firmware Files

P13. Settings Files
11
12
11
Please cancel the “Fire test” and “Battery test”
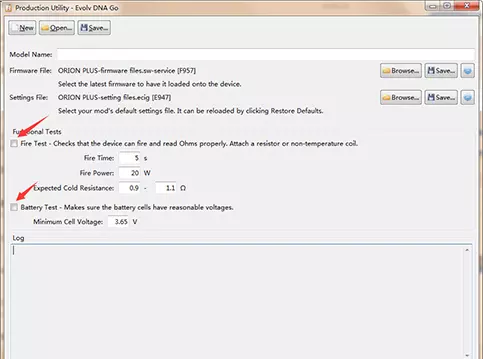
P14. Cancel the “Fire test” and “Battery test”
12
Click “Program&Test” button and start upgrade
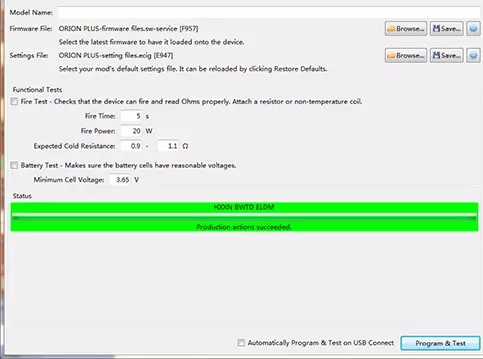
p15. Click “Program&Test” and finish
When the device flashes green light, the upgrade is successful
(Tips: Do not touch the USB cable during the upgrade process.)
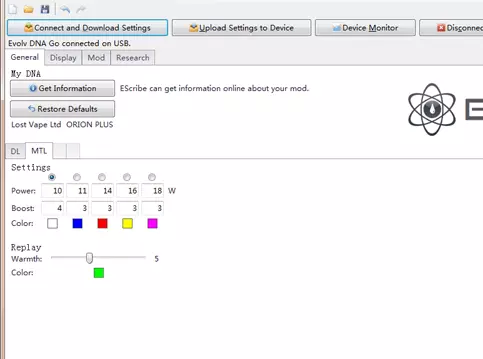
p16. 5 power levels
Having problems while upgrade?
Send an email to support@lostvape.com with the heading “Upgrade Problem” and we’ll get back to you in three work days.

