


December 2, 2025 / Blog / By administrator
How to Optimize Airflow on a Pod Kit: Adjustable Sliders
For e-cigarette users, pod kits are often smaller, simpler, and more efficient. However, airflow remains the most critical factor affecting user satisfaction—it determines flavor, throat hit, vapor production, and battery life. Whether consumers prefer a tight MTL or RDL, adjustable sliders allow the pod kit to cater to both usage habits without sacrificing convenience. In fact, a well-designed slider and user skills can transform a “one-size-fits-all” vape kit into one that can be finely tuned for different e-liquid types and coil configurations, maintaining consistent performance.
How does the slider on a Pod Kit affect draw resistance?
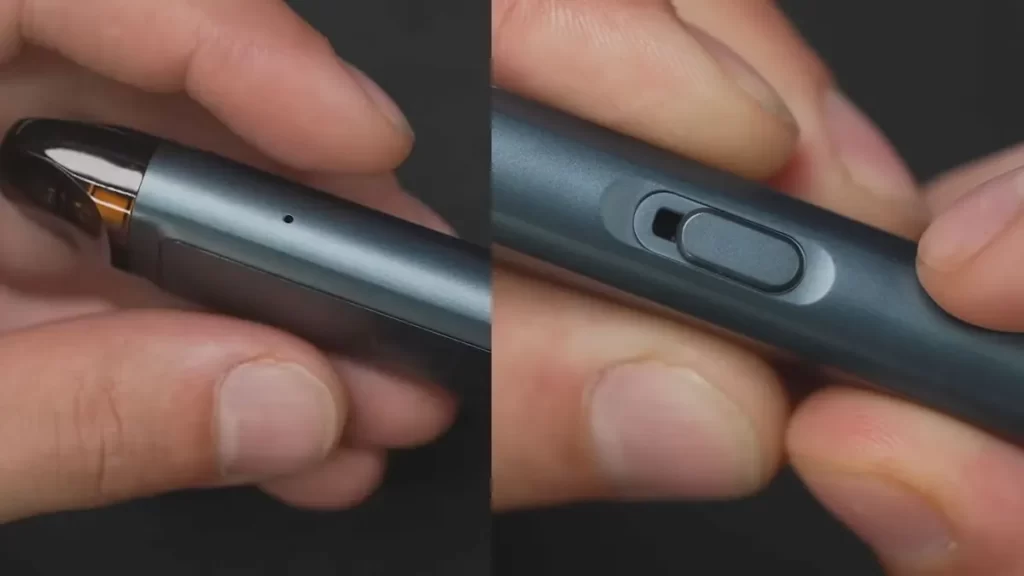
The adjustable slider controls the mixing ratio of ambient air and atomized e-liquid. Simply put, the wider the slider, the smoother the inhalation and the greater the vapor production; the closer the slider is, the tighter the inhalation, the stronger the throat hit, and usually, the richer the flavor. For pod kits and compact kits, the slider is often the most practical airflow control method because it is small, intuitive to operate, and durable.
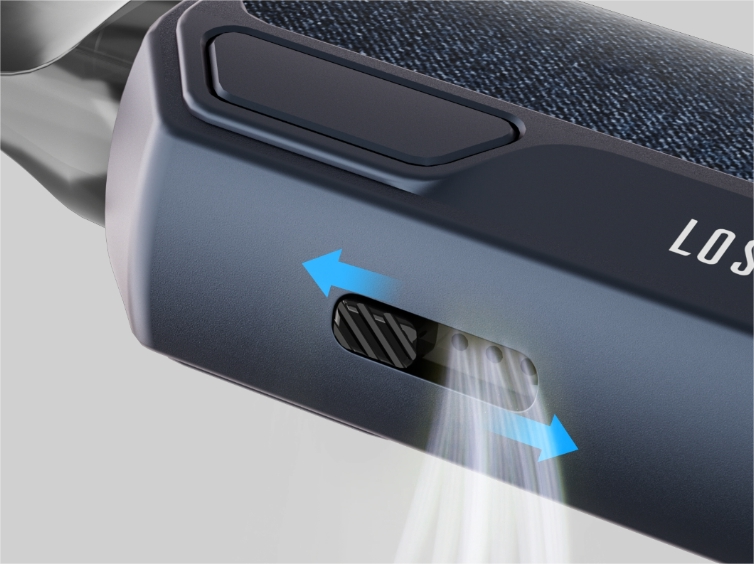
From a mechanical perspective, the slider primarily alters two things: the effective air intake area and the airflow channel geometry. Both affect the pressure drop across the coil—the suction required to inhale vapor. A tight MTL setting intentionally increases the pressure drop to achieve a cigarette-like draw resistance. In contrast, a restrictive DL setting aims for a lower to medium pressure drop, resulting in a fuller draw. Therefore, adjusting the slider is essentially about balancing resistance and airflow dynamics.
In pod kits, the slider typically has positioning points for easy repositioning. You can use these points to mark your preferred settings: for example, “Position 1” for a tight MTL draw resistance, and “Position 3” for a restrictive DL draw resistance. Additionally, note that a smaller airflow can result in a richer flavor but may increase coil temperature at the same power, so you might need to reduce the power when tightening the slider slightly.
Types, Materials, and Reliability of Airflow Adjustment Sliders in Pod Kit
Not all adjustable sliders are created equal. For buyers and engineers navigating the multitude of pod kit, the slider’s mechanical structure determines its durability, tactile feedback, and adjustment precision. Here are some key considerations and their importance:
First, consider the slider type. Commonly used slider types by manufacturers include:
Linear sliders – simple linear movement; compact and intuitive.
Rotational sliders/air rings – rotate to open/close the port; slightly larger, but generally more precise.
Stepped positioning sliders – provide a clear stop point, allowing for repeatable settings.
In terms of materials, metal sliders are generally durable and offer a superior feel. At the same time, engineering plastics are cheaper and lighter; they must be resistant to the corrosive effects of e-liquid and crack propagation. The silicone seal and high-quality O-rings behind the slider are crucial for preventing leaks and ensuring smooth gliding. From a reliability perspective, pod kits with sealed slider channels should be chosen to isolate the e-liquid from the slider mechanism. Finally, consider the level of finesse required for control. A finely adjustable slider—even subtle, perceptible adjustments—is invaluable, as small changes can often lead to significant differences in draw resistance.
Tuning for an MTL Experience: Settings, Coil Selection, and E-liquid
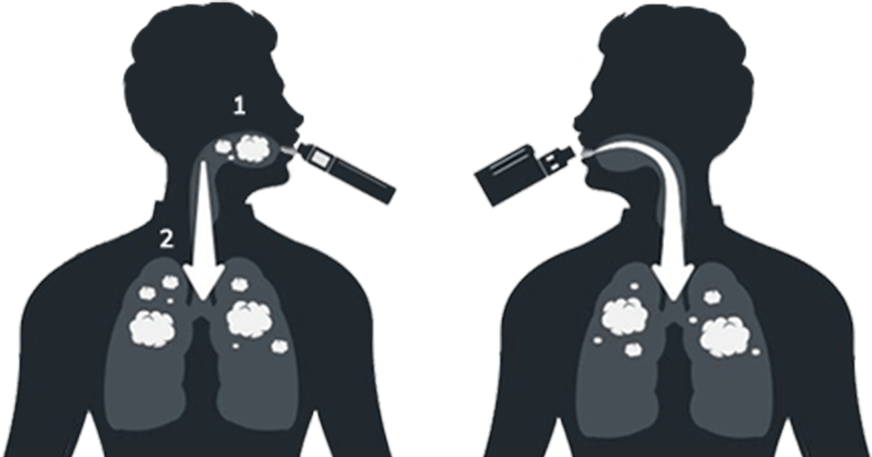
For smokers transitioning from traditional cigarettes to e-cigarettes, a tight MTL experience is highly desirable when using a pod kit, as it mimics the draw resistance of cigarettes and provides a stronger throat hit. To achieve a satisfying tight MTL experience with an adjustable slider, three core variables need to be optimized: airflow settings, coil resistance/type, and e-liquid characteristics.
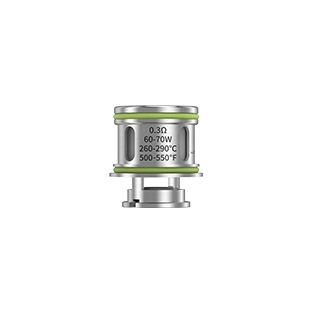
First, adjust the airflow to its lowest position and test with gentle, short inhalations. A proper MTL should provide noticeable resistance while still allowing easy single inhalations. Next, select the appropriate coil resistance—pod kits designed for MTL typically use high-resistance coils. Simultaneously, choose an e-liquid with a higher PG (Potentially Gluten) ratio for your MTL experience. PG delivers flavor more effectively and produces a satisfying throat hit at lower wattage. Additionally, adjust the wattage as needed. When tightening the airflow, reduce the wattage by a few watts from the full-on setting to avoid coil overheating and maintain pure flavor.
Tuning for RDL Mode: Balancing Vulnerability and Flavor
Using RDL mode in a vape kit achieves a balance between rich vapor production and intense flavor. To achieve a satisfying, restricted lung-like experience, the damping slider should be set to a moderate level, a suitable coil configuration selected, and the wattage balanced.
First, partially open the airflow adjustment slider—aiming for the middle stop or the first open position after exceeding the MTL limit. At this point, the draw resistance should be smoother than with MTL, with less inhalation resistance, but still with some back pressure to maintain a rich flavor. When choosing a cartridge, use one with a lower resistance than the MTL cartridge. These coils produce more vapor without exceeding the safe operating range of a small device. The choice of e-liquid is crucial. For RDL users, increasing VG content (e.g., 70/30 VG/PG or 60/40 VG/PG) produces richer vapor and a fuller throat hit. Simultaneously, set the wattage to the coil’s recommended mid-range. Generally, increasing airflow slightly increases power without irritating, but excessive airflow may result in a weaker flavor.
Keep the slider smooth and leak-proof.
Airflow optimization depends on the cleanliness and maintenance of the slider. Maintenance prevents the slider from jamming, maintains tactile feedback, and reduces leaks—all crucial for the long-term use of any pod kit. For routine cleaning, remove the pod and wipe it with a lint-free cloth at least every 1-2 weeks, while sliding the airflow control knob to its full travel. If condensation or e-liquid has accumulated inside the pod, rinse it and allow it to dry completely before reassembling. Additionally, check and replace O-rings and silicone seals: they age over time, especially after contact with high-PG e-liquids or harsh flavors. Inspect the seals for cracks or deformation and replace them if worn. If the slider is stuck, do not force it; instead, remove the assembly and clean the channels as described above.
Mastering Practical Airflow Control Techniques
Optimizing the airflow of a pod kit requires some skill. Adjustable sliders let you dial in airflow from a tight MTL mode to a more satisfying RDL mode. Here’s a summary of the most practical points:
First, understand how the slider orifice size affects pressure drop and flavor.
Match the slider position to the appropriate coil resistance and e-liquid viscosity: high-resistance coils and high PG are suitable for tight MTL; low-resistance coils and high VG are ideal for restricted DL.
Create repeatable settings using the positioning pins and fine-tuning functions, and record your preferred configuration.
Maintain the sliders regularly to prevent sticking and leaks; check the seals and replace them if necessary.
Follow these steps each time you change a cartridge, e-liquid, or power source. This will ensure you consistently get the ideal draw resistance, flavor, and vapor production from your pod kit.