


April 15, 2025 / Blog / By administrator
How to prevent condensation on the vape kit and avoid backflow?
Condensation and backflow occur when excess e-liquid in your vape kit accumulates in the air intake system or leaks into the device. Temperature fluctuations, overfilling, or incorrect inhalation technique often cause this. When hot vapour meets a cooler surface (such as a metal coil or air intake tube), it condenses into liquid, causing messy leaks that affect performance and hygiene. Backflow – when e-liquid flows back into the battery or air intake chamber, it is often caused by pressure imbalances during use. In this article, we will share the key factors that lead to these common problems and introduce a series of targeted solutions.
Optimize your vape kit’s airflow to prevent condensation.
Proper airflow management is essential to minimize condensation. Most vape kits allow airflow to be adjusted by rotating the reservoir base or using a control ring. Anti-condensation settings:
Restricted airflow: For high VG e-liquids, tighten the airflow to reduce vapor density;
Open airflow: For high PG or nicotine salt e-liquids to prevent pressure buildup;
Clean the air intake weekly: Use a toothpick to remove dirt from the air intake.
Pro Tip:
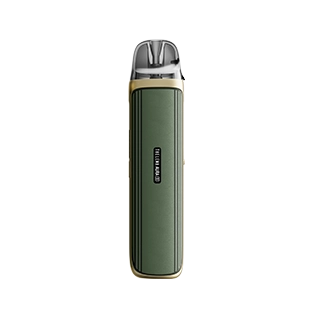
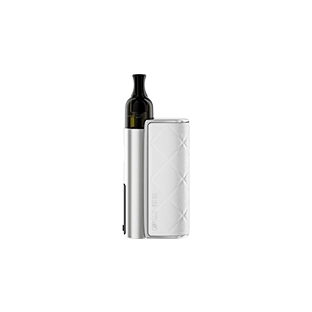
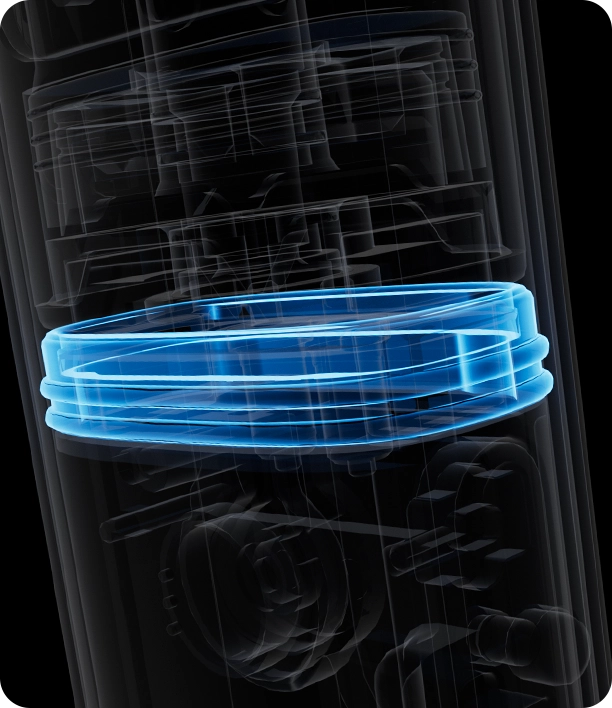
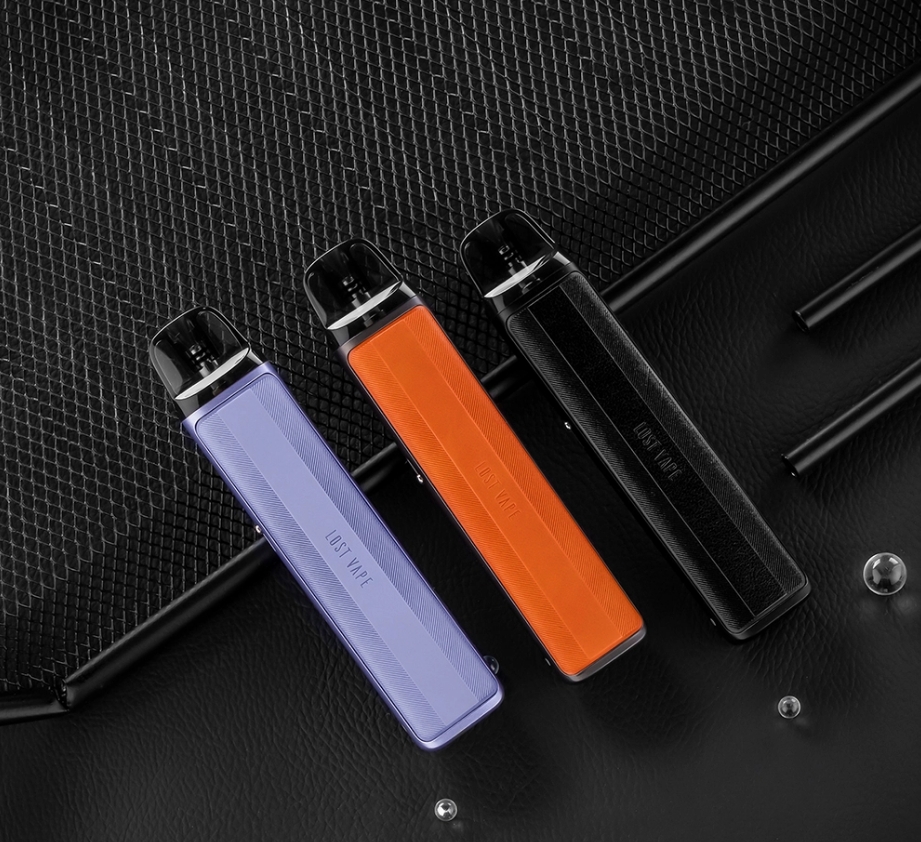
After filling the reservoir, completely close the air intake before reassembly. This creates a vacuum seal, which reduces leaks. The Lostvape Ursa Nano Pro’s patented airflow lock system reduces condensation by 41% compared to standard designs.
Master the “cool draw” technique of the vape kit
After vaping, residual vapor condenses in the coil, often causing backflow. Try this simple and effective method: After taking a puff, release the ignition button, inhale for 1-2 seconds to clear the residual vapor, and exhale normally. This trick can gradually reduce the coil temperature, evaporate the residual e-liquid in the core, and reduce condensation by up to 60% (based on lab testing).
Proven in action:
A survey of 500 Lostvape users showed that adopting cool vaping reduced reported backflow events by 73% over 30 days.
Prevent condensation with materials and surface treatments.
Material selection and surface treatments play a decisive role in the durability and performance of vape kits, especially when it comes to controlling condensation. The cartridges and internal tubing materials must be carefully selected to minimize moisture absorption and prevent condensation from forming. In addition to choosing the right materials, the condensation resistance of the vape kit can be significantly improved through some surface treatment techniques. For example, hydrophobic coatings repel water and prevent moisture from adhering to the internal surfaces of the device. Such coatings reduce droplet formation and make condensation easier to clean when it does occur.
Another effective strategy is to use anti-condensation coatings and finishes on the internal surfaces of vape devices. These special finishes are designed to maintain a stable temperature and inhibit the nucleation process that causes condensation. In addition, thermal insulation can be incorporated into the design to reduce the impact of temperature differences within the device.
Condensation-free vapor with temperature-controlled vape technology
Advanced chipsets like the Lostvape DNA series continuously monitor coil resistance changes to maintain perfect temperature stability. This prevents temperature spikes from causing excessive condensation while eliminating dry burns that can damage wicking materials. Effective TC use is all about proper settings:
Ensure your coil is at room temperature when setting resistance, use a compatible coil type (nickel, titanium, or stainless steel), and fine-tune the temperature for your specific e-liquid. Many users don’t realize that different flavors of e-liquid vaporize best at different temperatures, with fruity flavors typically requiring lower settings (175-220°C) and dessert flavors requiring lower settings (220-240°C). When properly configured, it reduces condensation by maintaining consistent vapor density regardless of your smoking frequency.
Create a comprehensive maintenance routine for your vape kit
Effective vape maintenance is more than just occasional cleaning; it requires a systematic approach. Start with a quick daily check:
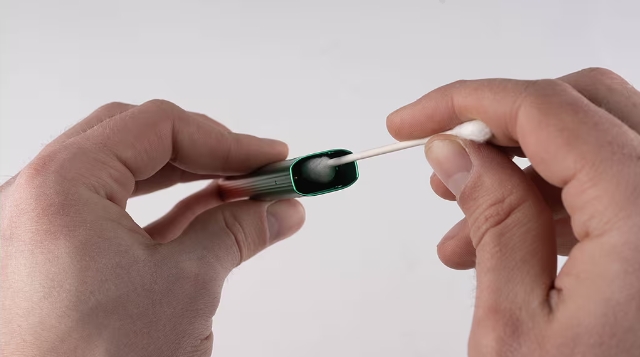
Check O-rings for wear, confirm coils are in place, and wipe condensation off contact points. If possible, weekly deep cleaning should include complete disassembly, ultrasonic metal parts cleaning, and thorough drying before reassembly. Pay special attention to threaded connections, where residual e-liquid can accumulate and oxidize, causing conductivity issues.
Monthly maintenance should focus on preventive measures:
Replace all seals, inspect internal insulation for degradation, and test battery contacts for corrosion, regardless of visible wear. You may notice that certain e-liquids require more frequent cleaning or that certain weather conditions accelerate the formation of condensation. Industry studies show that proper maintenance prevents condensation and extends coil life by up to 40%.
Ultimately
From airflow optimization to cool draw technology, implementing these solutions will improve performance, extend the life of your device, and enjoy a cleaner vaping experience. A well-maintained vape kit is not just about avoiding messes; it’s about getting the most out of every satisfying draw.